Custom Disney Pin Trading Display Board
mario November 30th, 2015
Confession: I have fallen victim to the Disney pin trading fad.
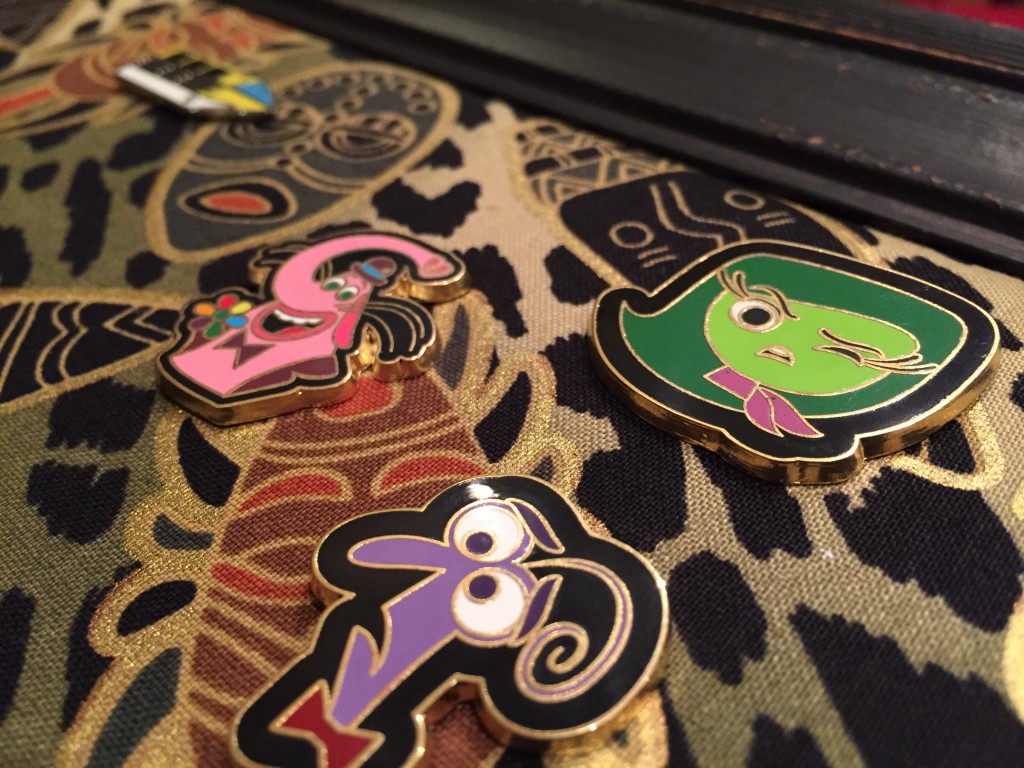
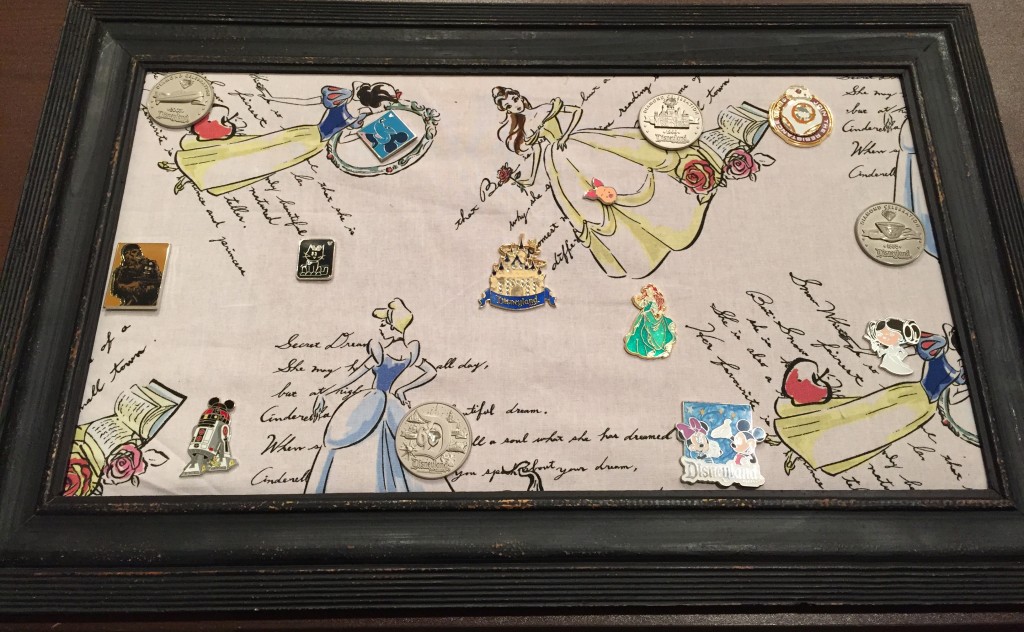
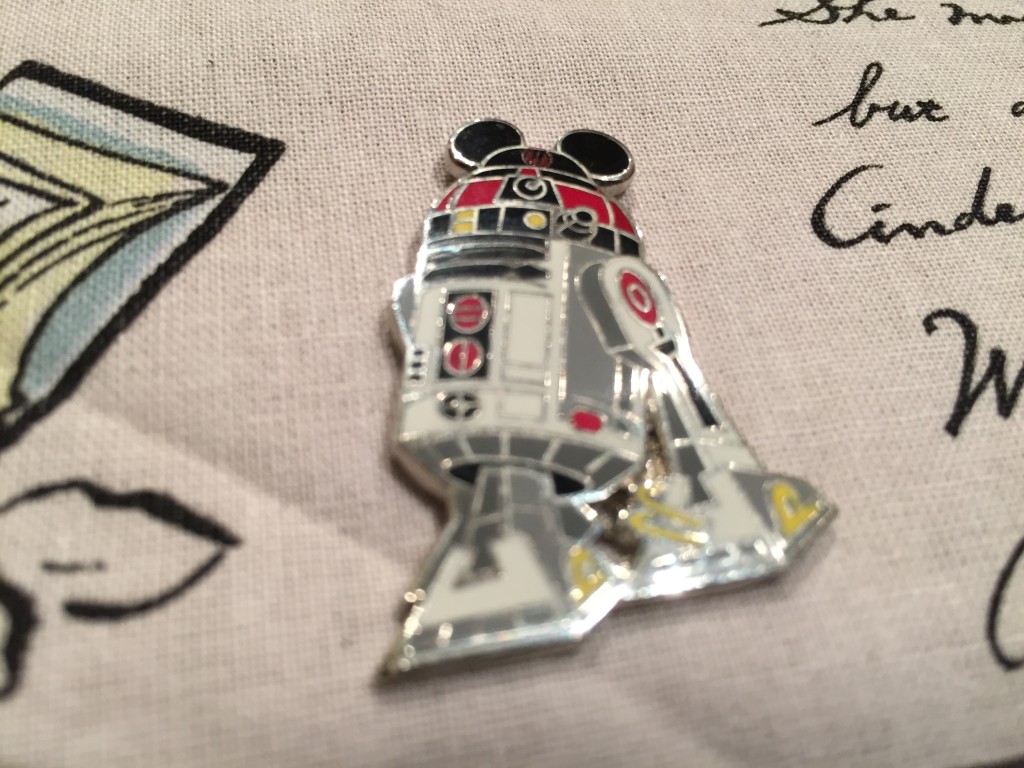
My girlfriend and I told ourselves we would be able to just buy a few collectible pins and be done with it. We picked up WALL•E and EVE, plus some Star Wars characters. Then grabbed some hat pins for trade fodder. Then I bought the Inside Out set. Then we splurged on a Diamond Anniversary medallion set. Before we knew it, our lanyards were weighed down with metal baubles and we needed a place to keep the ones we didn’t want to trade.
Pinterest to the rescue! I found some great inspiration on the Walt Disney World for Grownups forum; User Mase had the fantastic idea to take cork board and cover it with fabric to display Disney pins on the wall. After seeing I <3 Disney‘s take on it with the addition of a frame, I knew I wanted to give this setup a try.
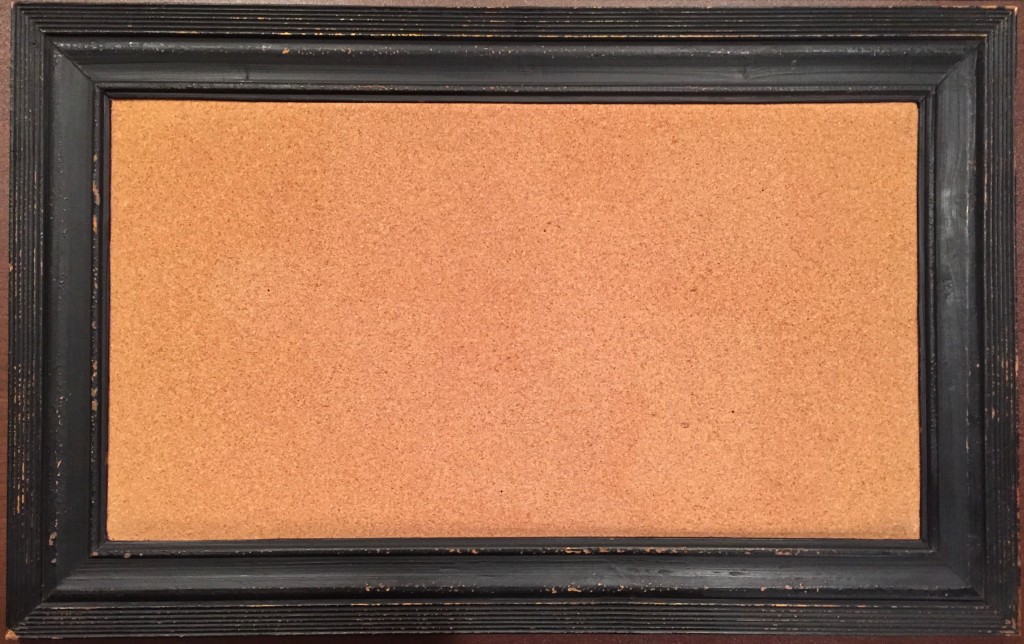
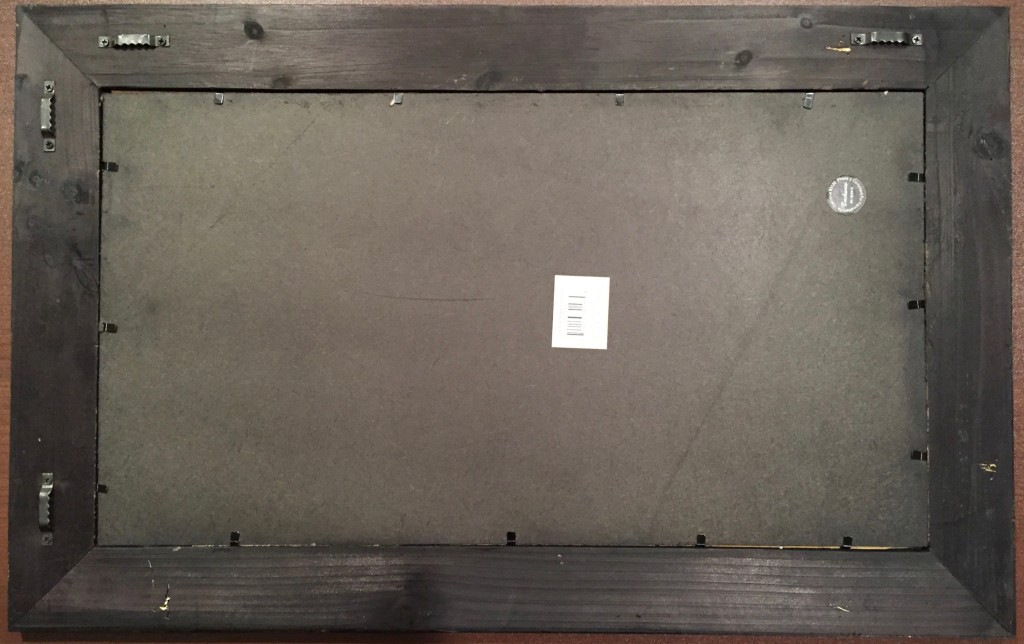
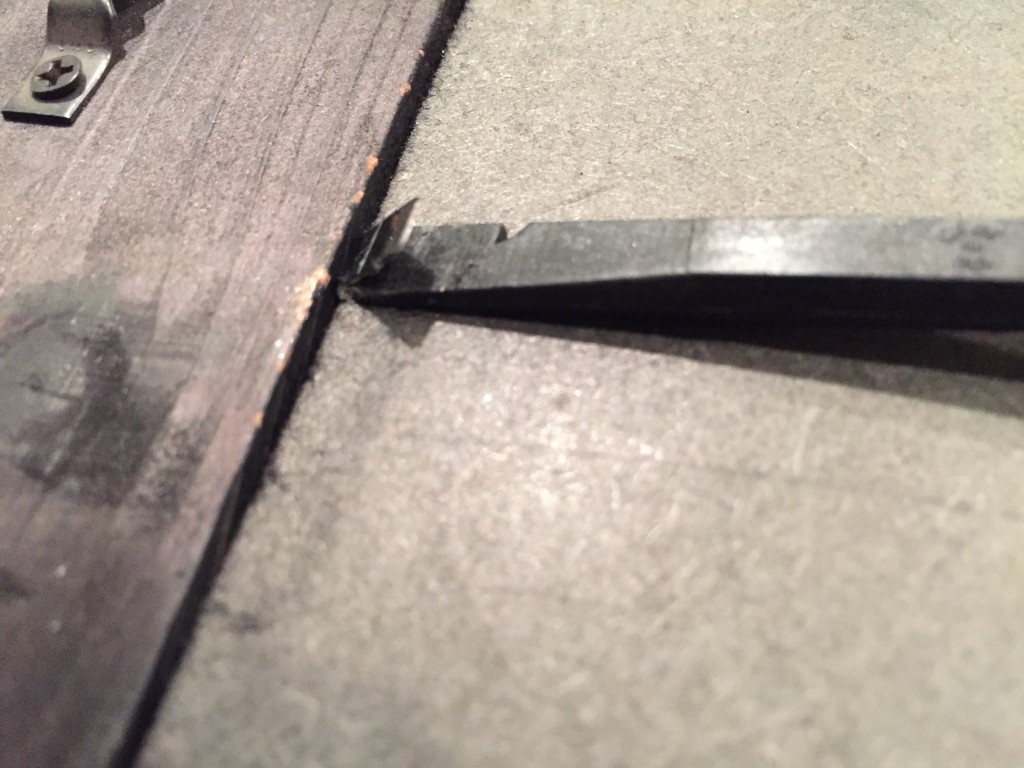
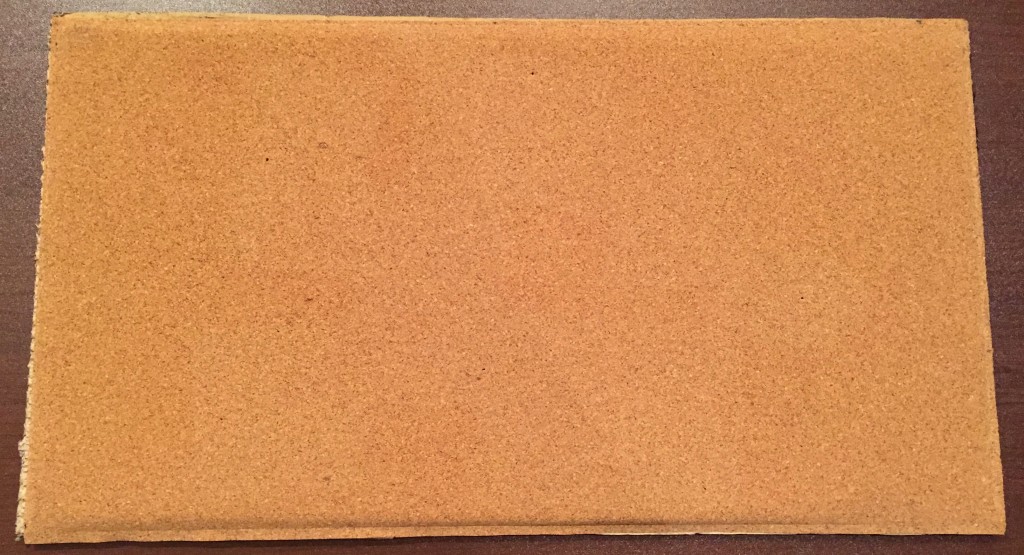
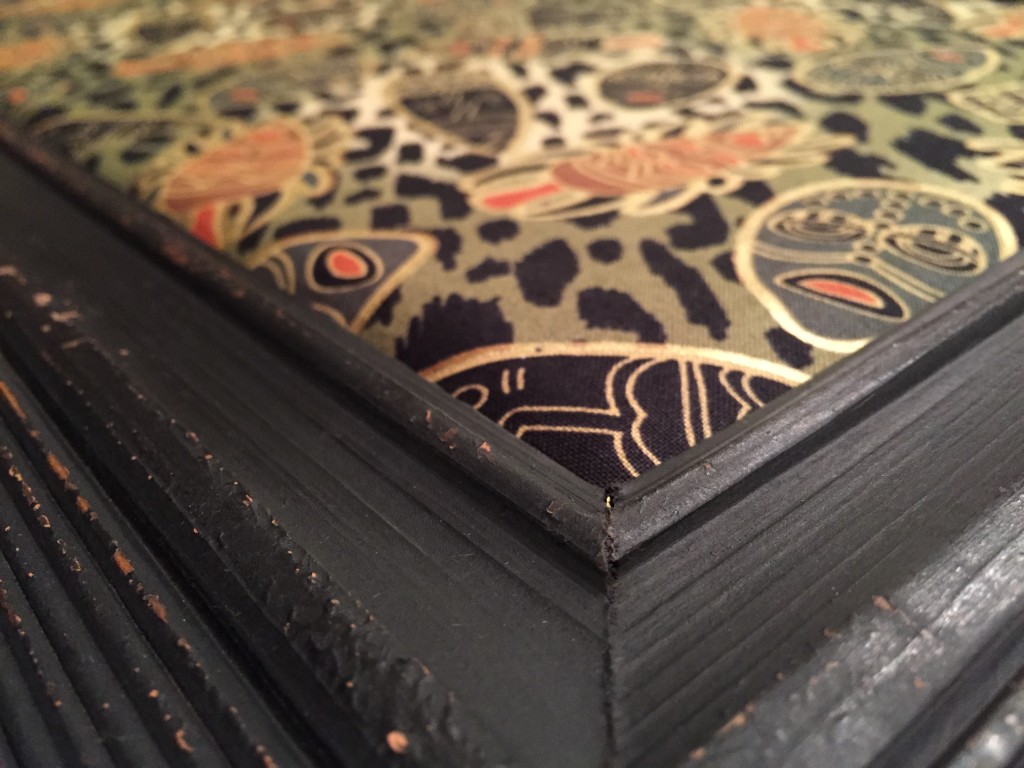
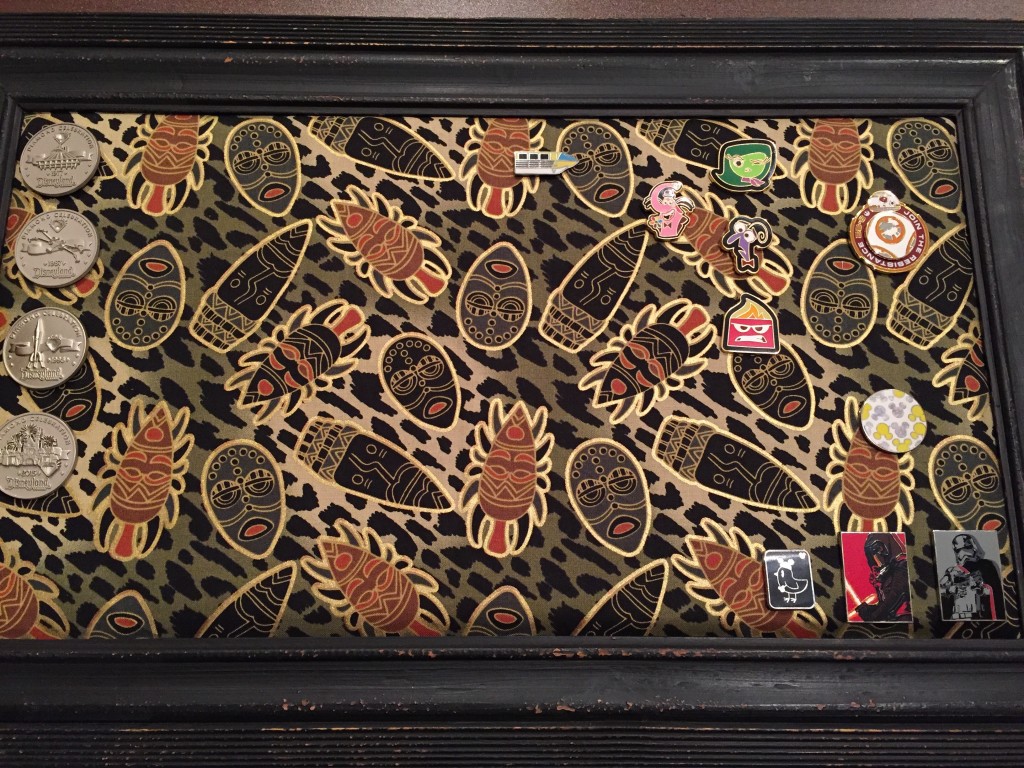
One trip to Jo-Ann later, and we found the perfect solution for a quick and simple setup. The Sheffield Home Corkboard 10×18 (sadly no longer available online) has a rustic-looking black distressed wood frame, but unlike other solutions I’ve seen, the cork board is removable from the frame via metal tabs (like a picture frame), so we were able to apply our fabrics of choice (also from Jo-Ann; one-stop-shopping for the win!) without any tedious gluing of the frame afterward.
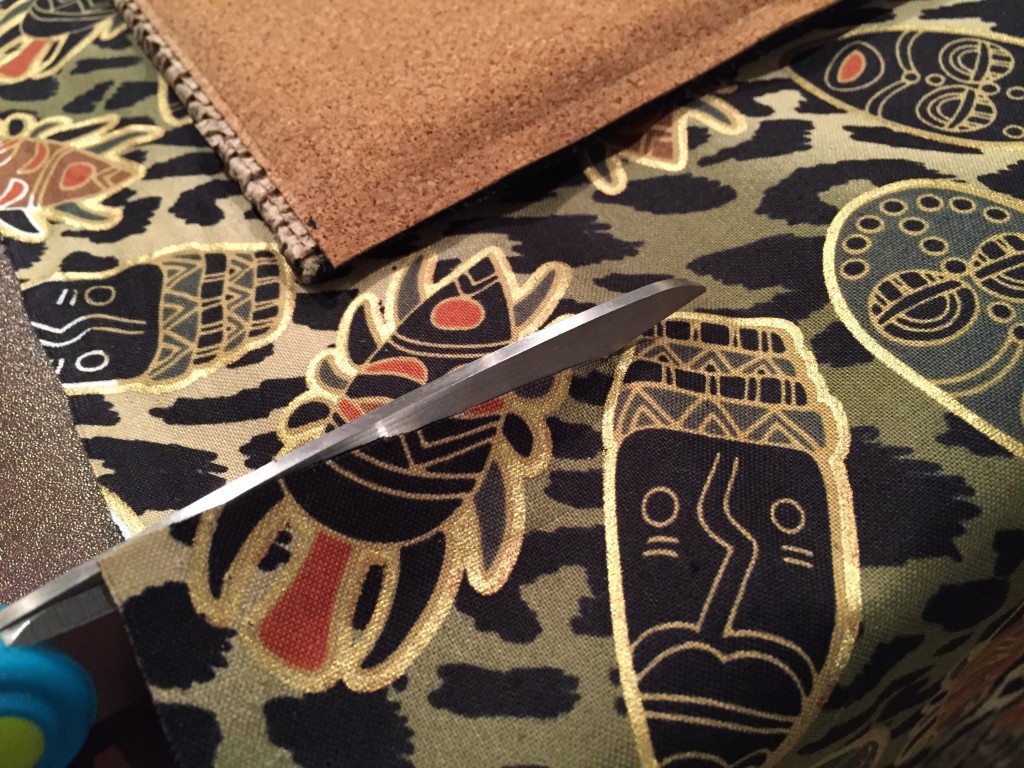
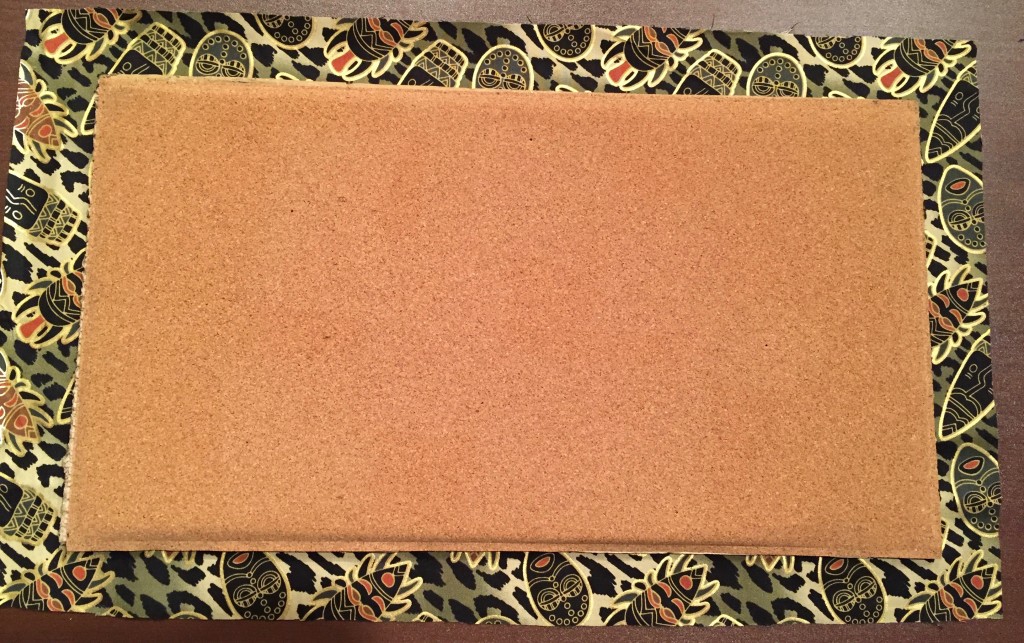
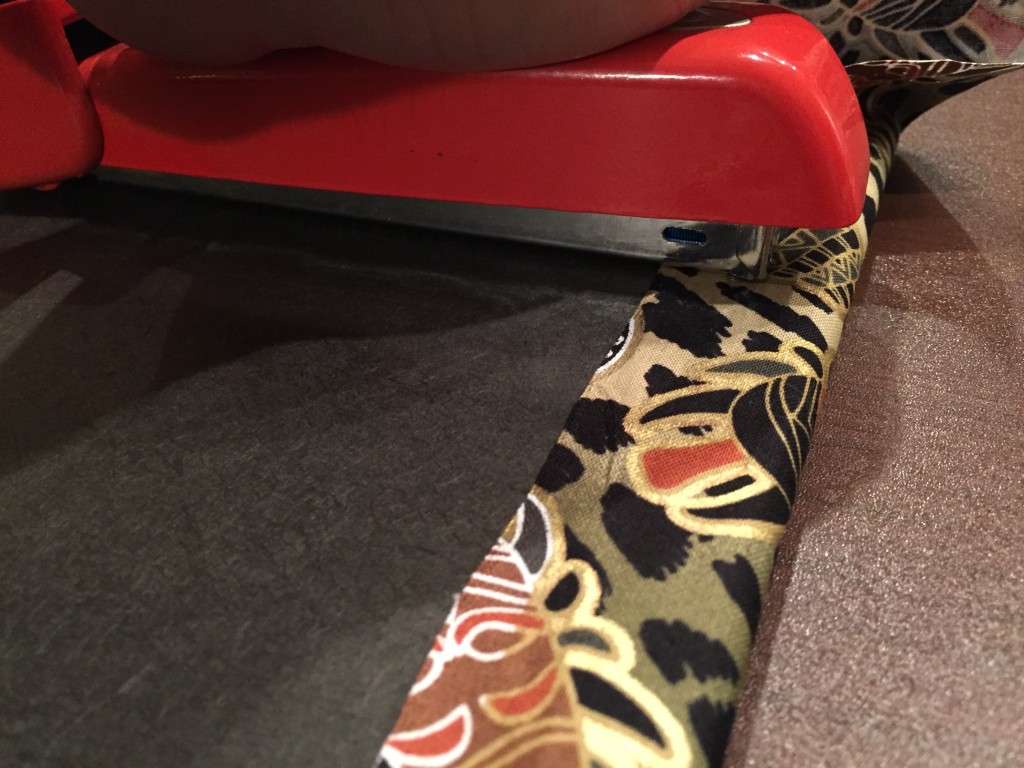
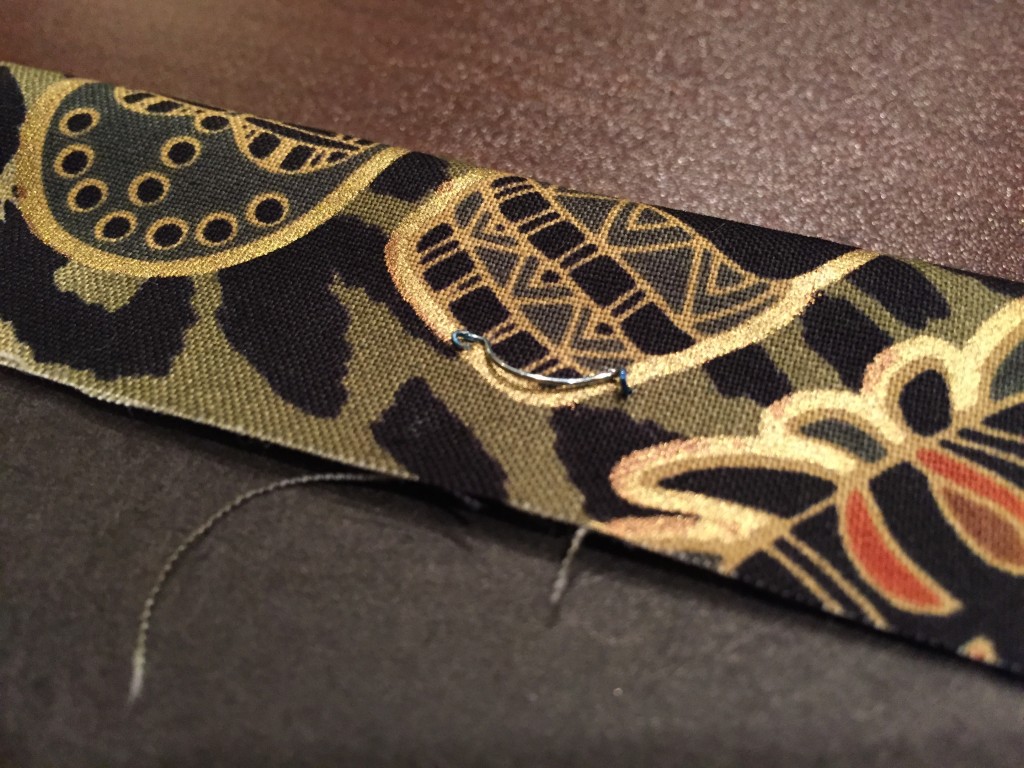
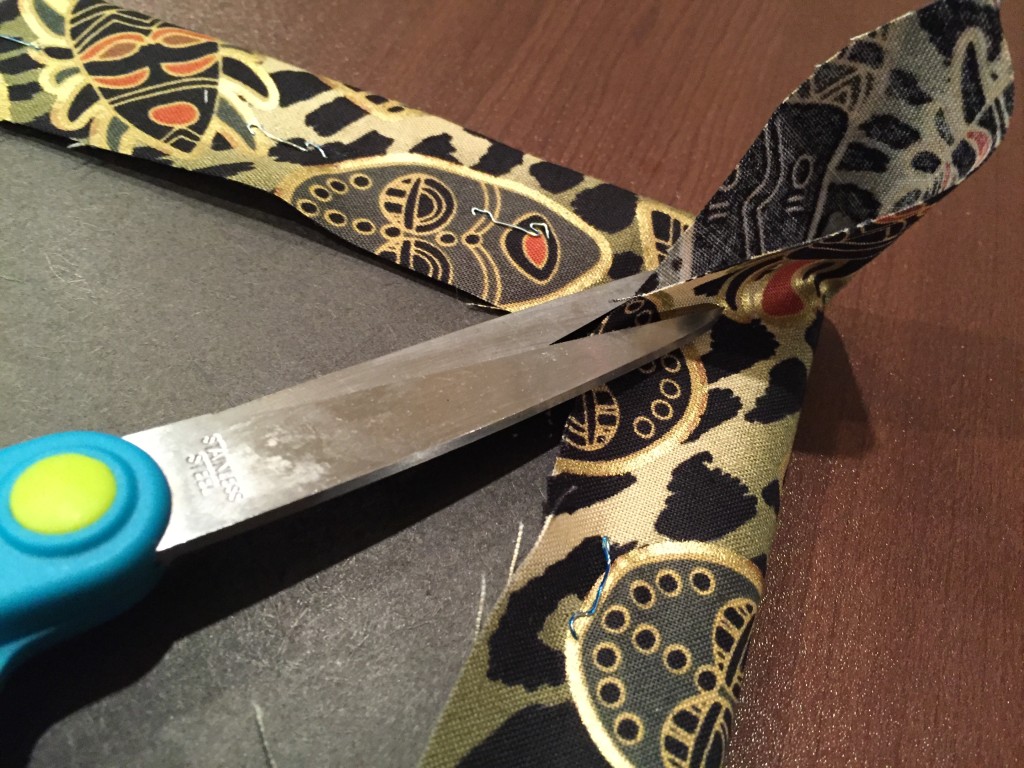
We eyeballed about 1.5″ of fabric on all sides to give sufficient buffer for attachment on the back. Staples mostly did the job for me; your mileage may vary depending on the fabric you select, but they should grab the cork board with ease. I cut the corners of the fabric off afterward so I wouldn’t have to staple through too many layers.
With the fabric sufficiently secured, we bent the tabs back and were off to the races!
Now we have a place to display all the Disney pins we intend to keep, and can bring a smaller assortment to the park for trades (and for inevitable additional purchases).
[discuss]
- Blog , Craft , Disney
- Comments(1)






Love the walkthrough and close up pics. You both lucked out on not having to glue. 🙂